You can enter a new customer into MRM a few different ways, but the simplest way is described below:
To Add a New Customer:
1. Click the down arrow by New in the toolbar.

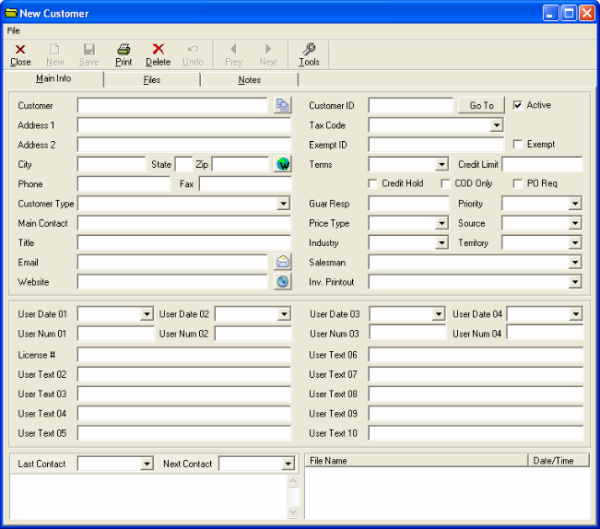
2. Click Customer for the New Customer form to appear.

You could also:
a. Click on File and then click on New Item and choose Customer OR
b. Click click the Customer folder, then click on a customer grid such as “Customers” OR
c. Click on the New button that resembles a new document while viewing the Customers grid.
TIP: Since there are no required fields on the New Customer form, you may enter as much or as little information as you want. We do suggest that you enter all pertinent information however.
This may include, but is not limited to:
-Customer’s name
-Customer’s billing address
-Customer’s phone number
-Name of the person you contact
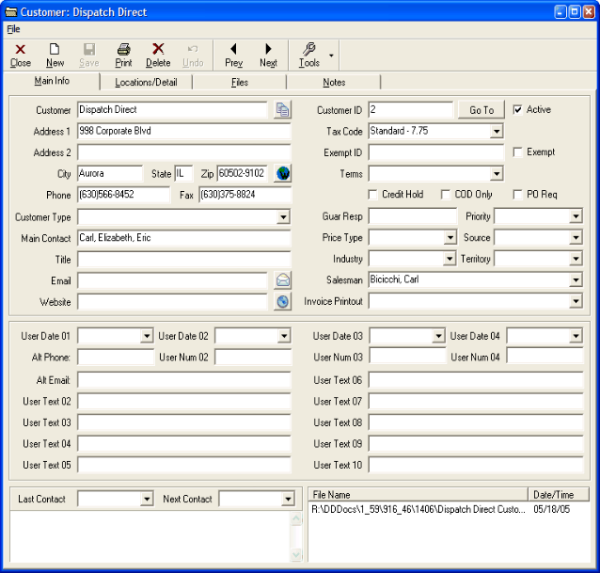
Also note that MRM automatically assigns a unique Customer ID Number to each customer. You may wish to change this number to better follow your business procedures. Please Contact Support for assistance.

| The Copy button copies the customer name, address, city, state, zip, phone, fax, contact, title and email into the Windows clipboard, for easy pasting into other applications. | |
| The Email button works like a web page “Mail-to” control, launching the default email program with the address specified in the Email field already loaded in the To field of a new email message. | |
| The Web button launches the default Internet browser, and goes to the address specified in the Website field. Also, the form itself is resizable. By default, it is always displayed at the maximum size. It was designed for a minimum screen resolution of 800 x 600 pixels, which means at its smallest size it’s still larger than most MRM screens. |