Board Data Options allows you to manipulate what is shown on the Dispatch Board.
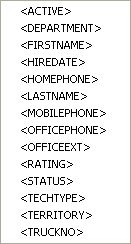
By clicking inside the white box next to the “Tech Name”, “Tech Info”, and “Tech Caption” fields, and then clicking the “Insert” button, you can choose what fields to include on the Dispatch Board in these respective fields.
Your options are:

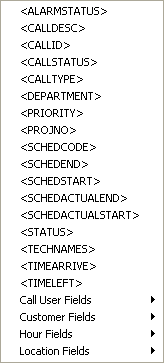
By first clicking inside the white box next to the Site Visit Board Text or the Site Visit Caption Text Data fields and then clicking the Insert button, you can choose what fields to include on the Dispatch Board in these respective fields.
Your options are:

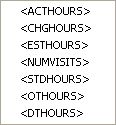
By first clicking inside the white box next to the Summary Data field and then clicking the Insert button, you can choose what fields to include on the Dispatch Board in these respective fields.
Your options are:

TIP: If there is a field that must be shown on the Dispatch Board and it isn’t listed in these insert lists, please contact Mobile Resource Manager Support for other alternatives.
Tech Info
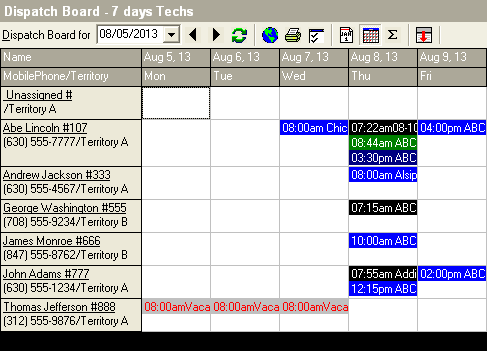
Tech Info will show directly underneath or directly to the right of the technician’s name. In the image below, Tech Info is their Mobile Phone and is located directly underneath the technician’s name.
Tech Caption
The Tech Caption is the black bar located at the bottom of the Dispatch Board.

You can select fields from the Insert list that will show up in the Tech Caption bar when you hover your cursor over the Technician’s name.
Site Visit Board Text
This is text that is viewed on the Dispatch Board by selecting from the Insert List.
Site Visit Caption Text
This text is viewed in the Caption bar when you hover over a Site Visit on the Dispatch Board.
Summary Data
On the Daily Dispatch Board, Summary Data summaries the site visit or tech’s information. In the first image, <NUMVISITS>/<CHGHOURS> are included on the Summary Board.
To Add/Edit Board Data Options:
1. Click in the white text box next to the field you want to change.
2. To remove a field, highlight over it and click Delete
3. To add a field, move the cursor in the text box where you want to add the field
4. Click the Insert box located directly to the right of that field
5. Click the field you want to insert.
HINT: To make things look uniform, you can add spaces and punctuation to separate the fields.