Once you have created and linked a Service Contract to a location, you can now generate the invoice to send to the customer.
To generate an invoice from the Service Contract:
1. Click Service Contracts folder in the cabinet
2. Click the Contract Billing tool
3. The “Recurring Invoices” form appears
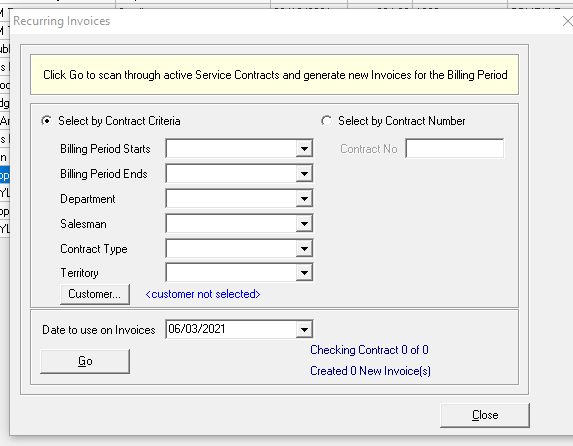
4. Click the down arrow beside “Bill Period Starts” in order to select the date that the Service Contract begins
6. Click the down arrow beside “Bill Period Ends” in order to select the date that the Service Contract ends
7. Click the down arrow beside each of the fields “Department,” “Salesman,” “Contract Type,” and Territory.” Each of these fields are optional by default.
8. Click OK. Depending on how many Service Contracts have the date that you entered in the “Bill Period Begins” date depends on how many Service Contracts will be generated. The “Created 0 of new invoices” will show how many Service Contracts that were created. For example, it could say “Created 3 new invoices”.
9. Click Cancel once it has created the invoices from the Service Contracts to exit out of that form.
To view the newly created invoice from the Service Contract:
1. Click Invoices folder
2. Click Invoices [Date Range]
3. Enter the date that shows on the invoice as it was created.
4. A list of all invoices created on that date will show in the grid 5. Double click the specific invoice to open it
To print the newly created invoice from the Service Contract:
1. Click the Print Icon button in the toolbar
2. Select “Invoice Printout” from the list of available printouts.
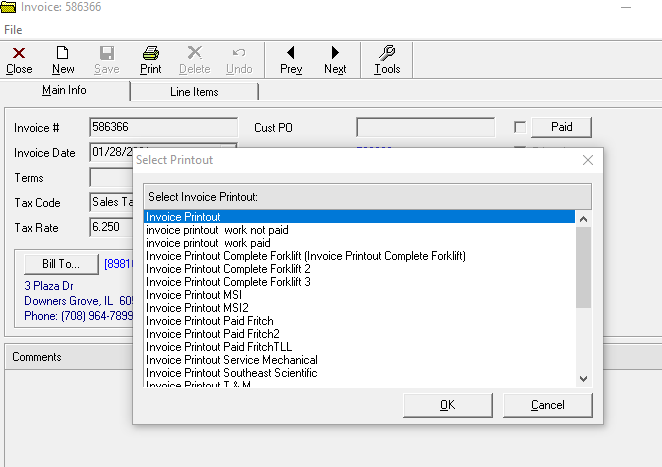
3. A preview of the invoice will appear. You can close the preview to return to the previous screen if changes need to be made.
4. Click “Print.”
5. Select the appropriate printer settings and click “OK.”