Mobile Resource Manager is set up with 2 User Groups: Admin and Default.
The Admin Group is set up to allow every privilege for any user that is in that group.
The Default Group is set up with few advanced privileges. Users in the Default group do not have access to Administrative settings.
Remember that cabinets are used as an organizational tool, containing its own set of folders. A specific folder, such as the “Dispatch” folder, can be in multiple cabinets. The majority of Mobile Resource Manager clients have only one office so they only have one cabinet. Some clients have multiple offices so they set up cabinets for each office location.
We mention this because there is a direct relationship between User Groups and the Cabinet and folders that are viewable in the cabinet. User Group Rights may restrict privileges at the Folder and Cabinet View levels. If a user has rights to a particular cabinet, that cabinet will be included in the combo box above the folder list. Rights to a specific cabinet does not affect other rights, such as what folder you have access to. For example, if a user has rights to a cabinet that includes a folder that they do not have rights to, they will not see that folder. If a user has rights to a folder but does not have rights to any cabinet that contains that folder, they will not have access to the folder.
To access the groups:
1. Click File
2. Click Administrator
3. Click Application Configuration
4. Click the + by Users
5. Click User Groups
6. “Group Name” lists all the groups. “Employee” lists which employees are in that group.
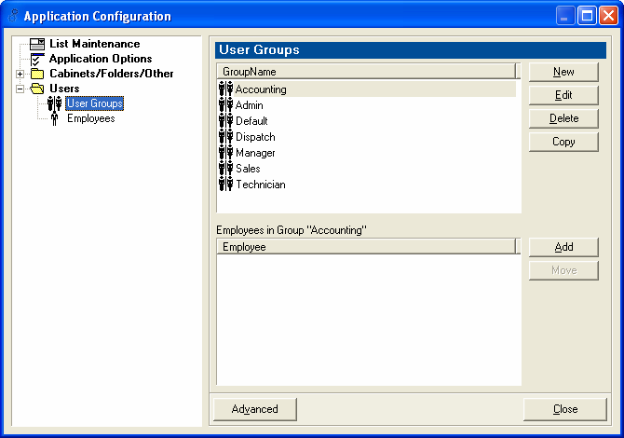
| Functions Available Here: | |
| New | – Creates a new User Group |
| Edit | – Edits the group you select |
| Delete | – Deletes the selected group |
| Copy | – Copies the selected group and creates a new user group |
To Create a New Group:
1. Click New beside the Group list
2. The New Group form appears
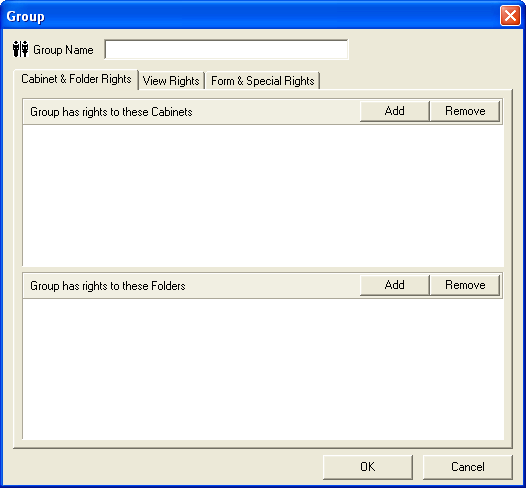
3. Name the group, such as “Managers”
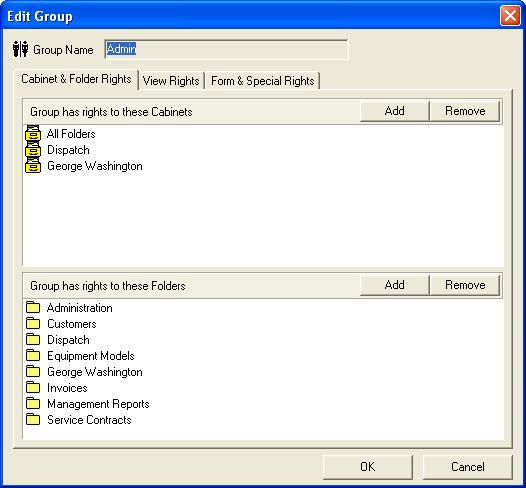
4. Click Add beside the “Group has rights to these Cabinets” field to add a Cabinet to the list.
5. Check the check box beside the Cabinet that you want this group to have access to.
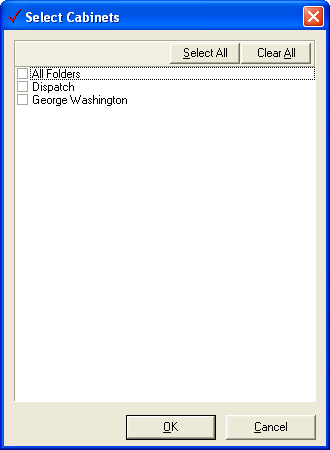
6. Click OK. Then click Remove to remove a specific cabinet from this group. Users in this group will only see Cabinets that you add.
7. Click Add beside the “Group has rights to these Folders” field to add Folders to the list.
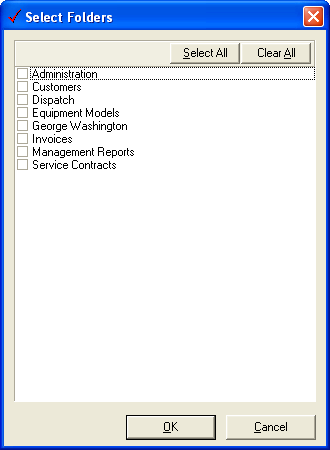
8. Check the check box beside the Folder that you want this group to have access to. Click Remove to remove a specific folder from this group. Users in this group will only see Folders that you add.
9. Click on the “View Rights” tab.
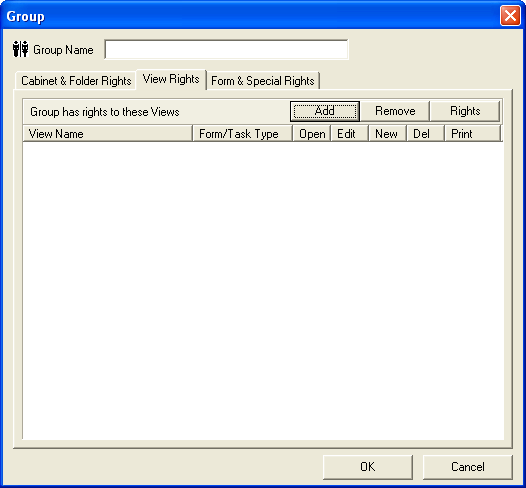
10. Click Add beside the “Group has rights to these Views” field to add specific grids and reports to be shown in their respective folders.
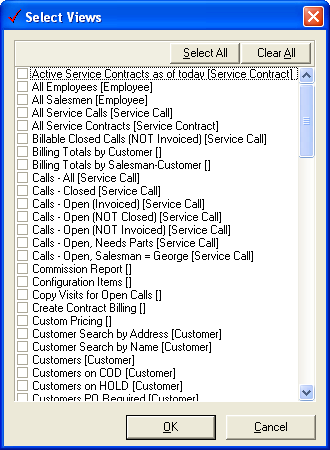
11. Check the check box beside each view that you want shown in the folders. Clicking Remove will remove that view from the list and it will not show in any folder in the cabinet. Clicking Rights is described below.
12. Click on the “Form/Special Rights” tab
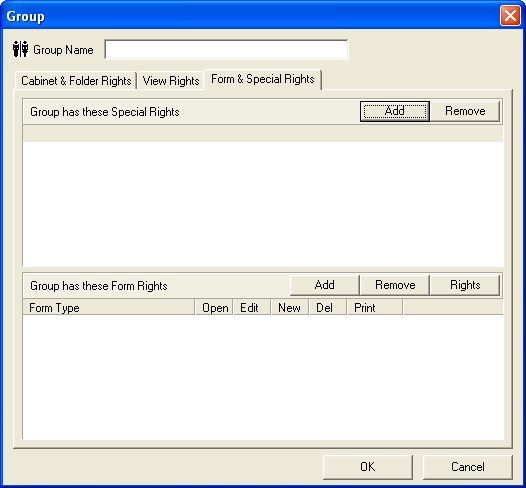
13. Click Add beside the “Group has rights to these Special Rights” field to add special rights for this group. You can add rights to be able to edit the Customer ID field. Click on a Special Right and then click Remove to remove a special right.
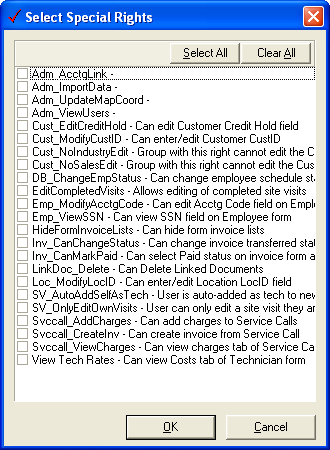
14. Check the check box beside each Special Right you want this group to have.
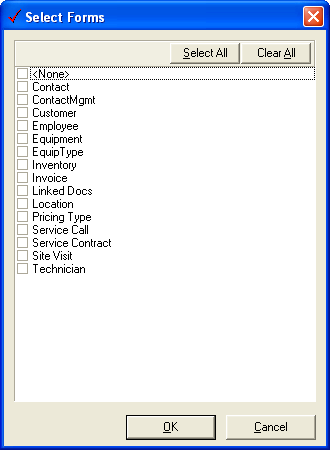
15. Click Add beside the “Group has rights to these Form Rights” field to add specific form rights for this group. You can add form rights to a specific form, such as Customers. You can choose for this group to be able to Open, Edit, Create New, Delete, and Print specific forms. Click a Form Right and then click Remove to remove a form right.
16. Click OK when finished.
To Edit a Group:
1. Click on the group you want to edit, such as Admin
2. Click Edit
3. The form appears to allow edits
4. When you are finished editing, click OK
To edit views in a Group:
1. Click on the group you want to edit, such as Admin
2. Click Edit
3. Click on the View Rights tab
4. The form appears to allows edits
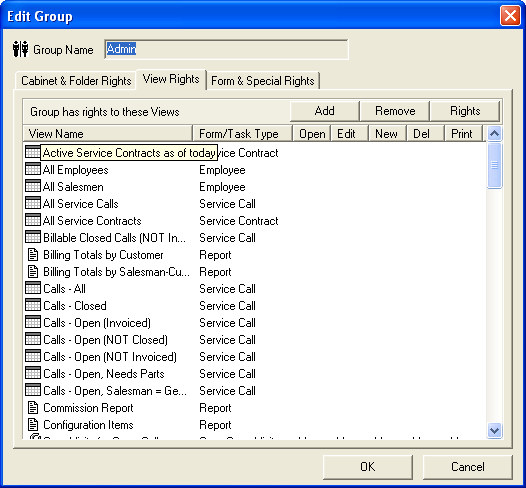
5. Click <b>Add</b> by Views in order to gain access to different grids and reports to that folder
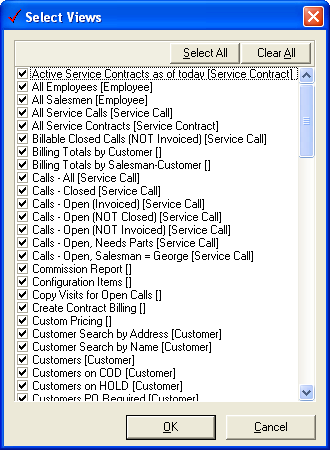
6. Check the checkbox by each grid or report you want this group to have access to
7. Click OK
8. Click Close